Mastering the Localizer (and Back Course)
|
Getting your Trinity Audio player ready...
|
The localizer is a critical component of every Instrument Landing System (ILS) approach, providing the lateral guidance that brings the airplane to the runway. While most pilots are familiar with the basics of flying a localizer, precise tracking takes practice—and the back course variant can be tricky.
Before you dive in, let’s review some essential concepts to sharpen your understanding.
What is a Localizer?
Think of the localizer as an electronic extension of the runway centerline. It provides lateral (left/right) guidance for an ILS approach. The localizer signal is transmitted from an antenna typically located 1,000 feet beyond the far end of the runway, operating on one of 40 reserved frequencies between 108.1 and 111.95 MHz.
The signal is far more precise than a VOR—about four times more sensitive. Full-scale CDI deflection on a localizer typically represents only 5 degrees, which translates to about 350 feet from centerline at the runway threshold. The sensitivity of this guidance makes precise heading control a must.
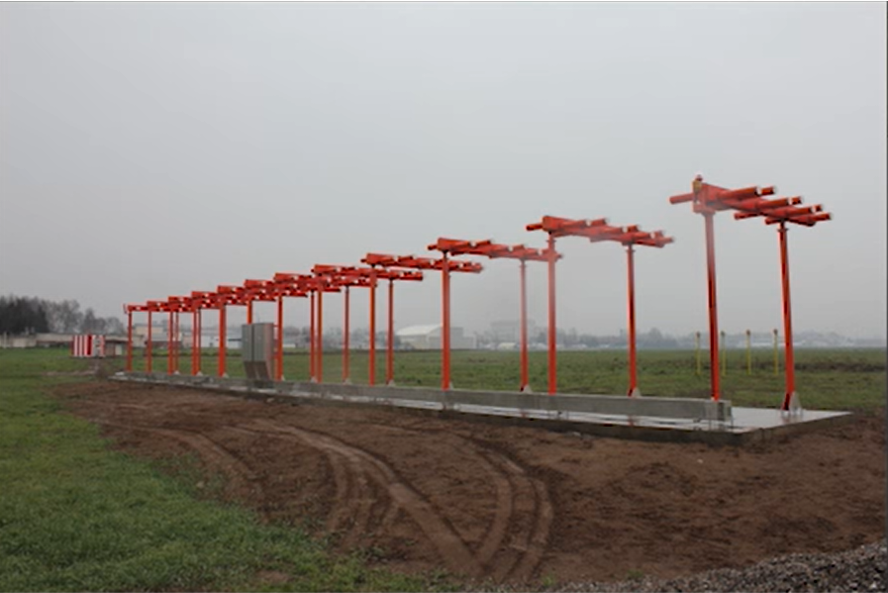
The localizer antenna is typically located 1,000 feet beyond the far end of the runway.
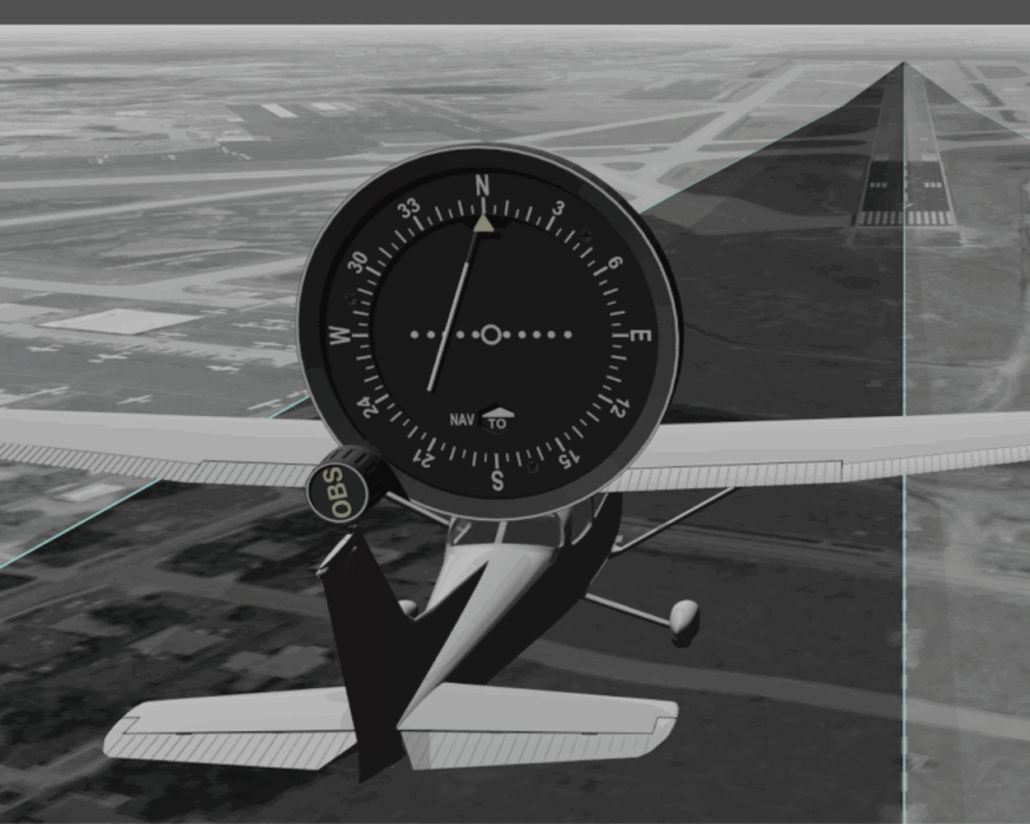
How to Fly the Localizer
Flying the localizer is all about small, smooth corrections and disciplined heading control:
- Outside the outer marker (typically 4–7 miles out): Limit heading corrections to 5° or less.
- Inside the outer marker: Limit corrections to 2° or less. Use gentle rudder inputs for very fine adjustments.
- Avoid overcorrecting—S-turns across the centerline waste time and add risk during an already busy phase of flight.
Maintaining an exact heading—even in calm air—can be deceptively difficult. Practicing heading discipline during en route legs can pay big dividends when you’re inside the FAF with low visibility ahead.
The Back Course Twist
Some localizers also transmit a signal in the opposite direction, known as the back course. These approaches are less common but still appear in certain parts of the country.
Flying the back course adds complexity due to reverse sensing—where your CDI needle deflects opposite to the aircraft’s actual position. That means:
- When using a traditional CDI, you must fly away from the needle to stay on course.
- Set the OBS to the approach course as a visual reminder, even though it won’t center the needle like a VOR.
- Disregard the glide slope—it’s false information on a back course.
- If using an HSI, set it to the front course of the localizer to eliminate reverse sensing and fly toward the needle as normal.
Mastering back course approaches is an exercise in situational awareness and instrumentation discipline. Pilots who don’t understand reverse sensing can easily find themselves drifting further from the intended path while chasing a misleading CDI.
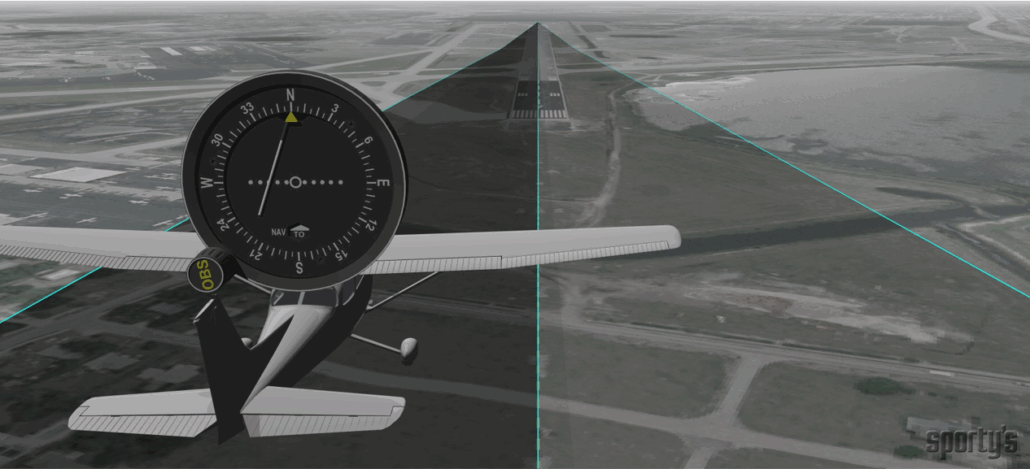
Flying the back course adds complexity due to reverse sensing—where your CDI needle deflects opposite to the aircraft’s actual position.
Try It Yourself: Interactive Localizer and Back Course Simulators
To help visualize these concepts, we’ve created two interactive simulators that let you drag the aircraft left or right on either a standard localizer or a localizer back course and watch how the CDI responds.
Localizer Instrument Approach Simulator
Back Course Instrument Approach Simulator
Whether you’re new to instrument flying or teaching the next generation of IFR pilots, understanding how to track a localizer—and its more confusing sibling, the back course—is essential. A few minutes with these tools will make the signals click in a way that no textbook can.

- Departure Planning for IFR Pilots: Risk Management Tips - November 1, 2025
- Chart Smart: low altitude IFR enroute chart intersection symbol - October 29, 2025
- Ask an IFR Expert: LPV vs. ILS—Which Should You Fly in Low Weather? - October 7, 2025
Leave a Reply
Want to join the discussion?Feel free to contribute!